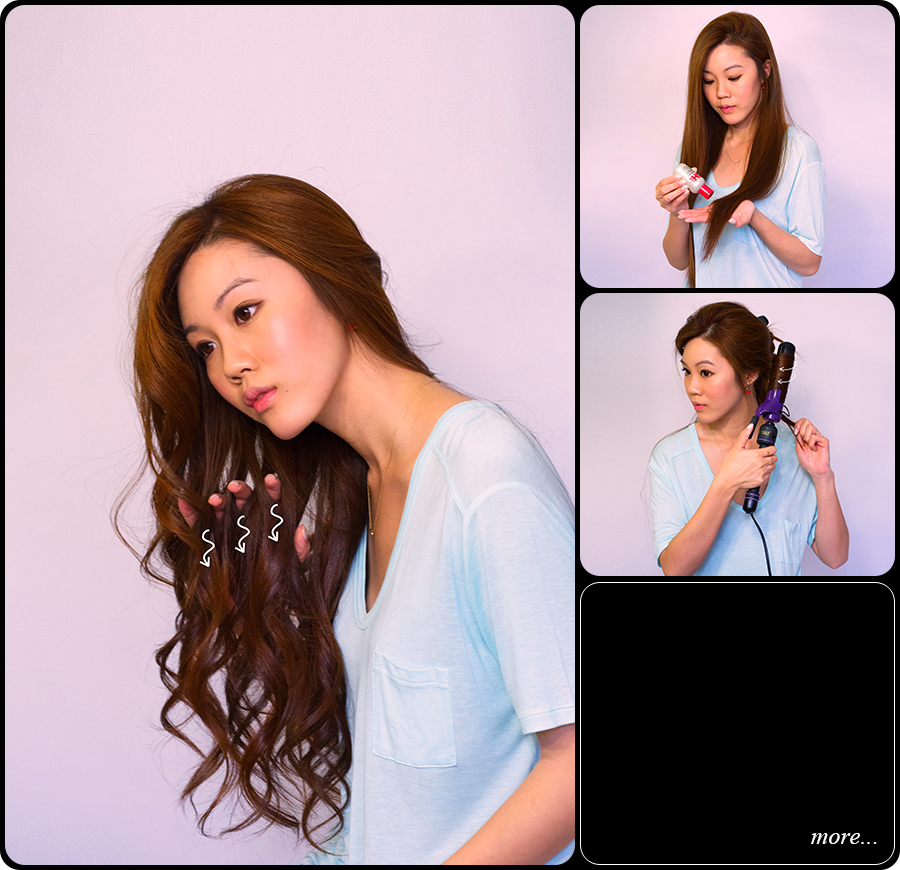
To all my lovelies, here it is, finally, a hair tutorial that you guys have been asking for! This routine is how I curl and go, everyday (except if I wake up late for work haha). It might take a little longer for you guys at first, but I am use to it already and it usually takes me 10-15 minutes, it’s fast and easy. If you get stuck at any of the steps below, feel free to comment and I’ll help you out. Ready?
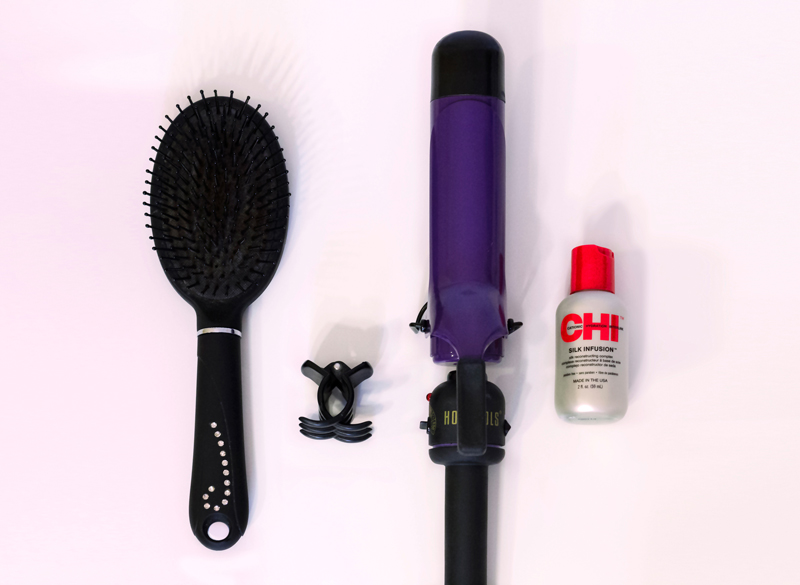
Products used:
Hair Brush
Claws Hairclip
Hot Tools 1.5” Curling Iron
CHI Silk Infusion Reconstructing Complex

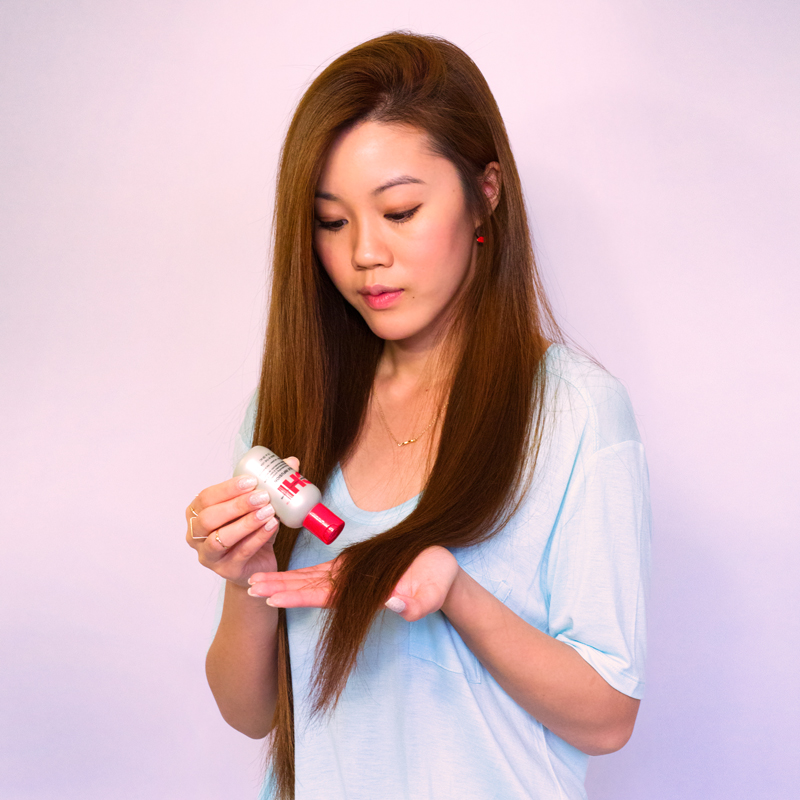
Step 1:
Apply CHI Silk Infusion Reconstructing Complex to the ends of hair to protect it from heat and to create a healthy shine.
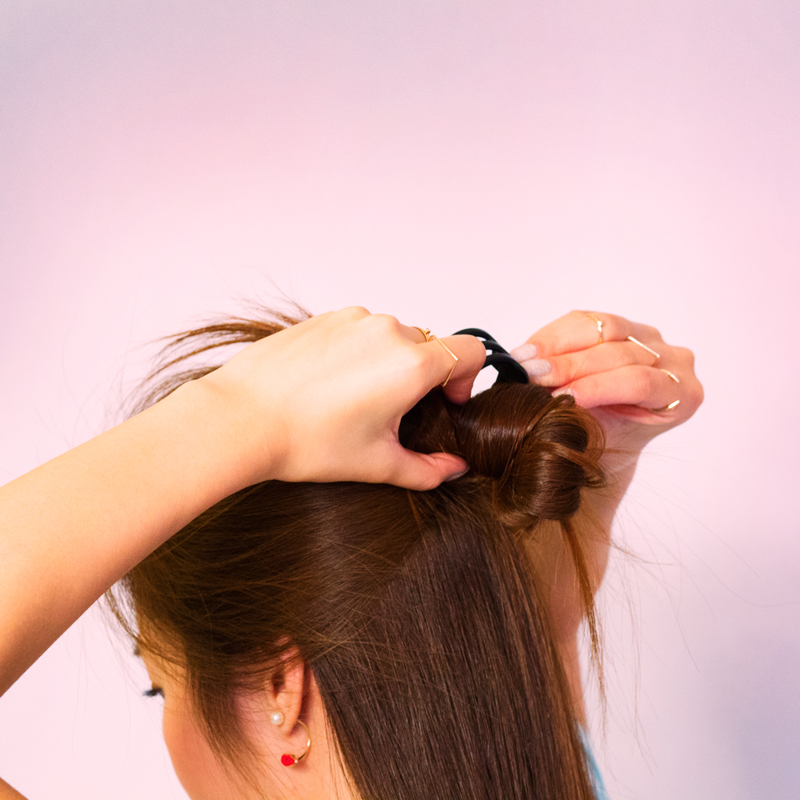
Step 2:
Grab hair from sides and top of your head and secure it with a claws hairclip.

Step 3:
Take the first small section of hair closest to your left ear and curl inward.
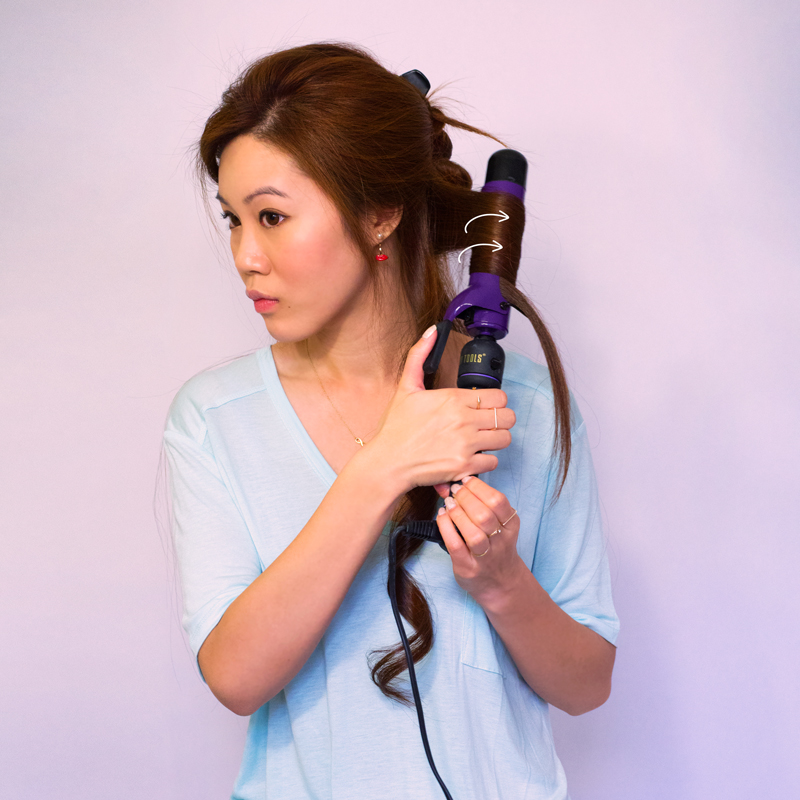
Step 4:
Working your way towards the back of your head, take the next small section of hair and curl outward.
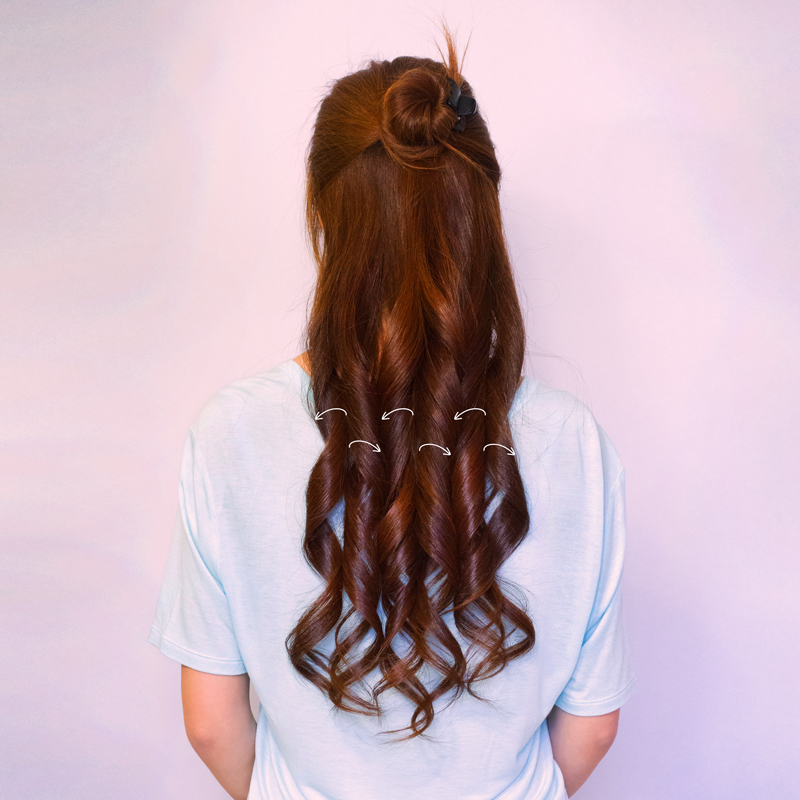
Step 5:
Continuing across the back of your head, finish the remaining sections alternating between inward and outward curling.
(Note: The reason for doing this is because it creates more volume compared to only curling in one direction.)

Step 6:
Release the hair that was secured with the claws hairclip in Step 2. Take the first small section of hair closest to your left temple and curl outward.
Step 7:
Keep curling outward until you have reached the midline of the back of your head.
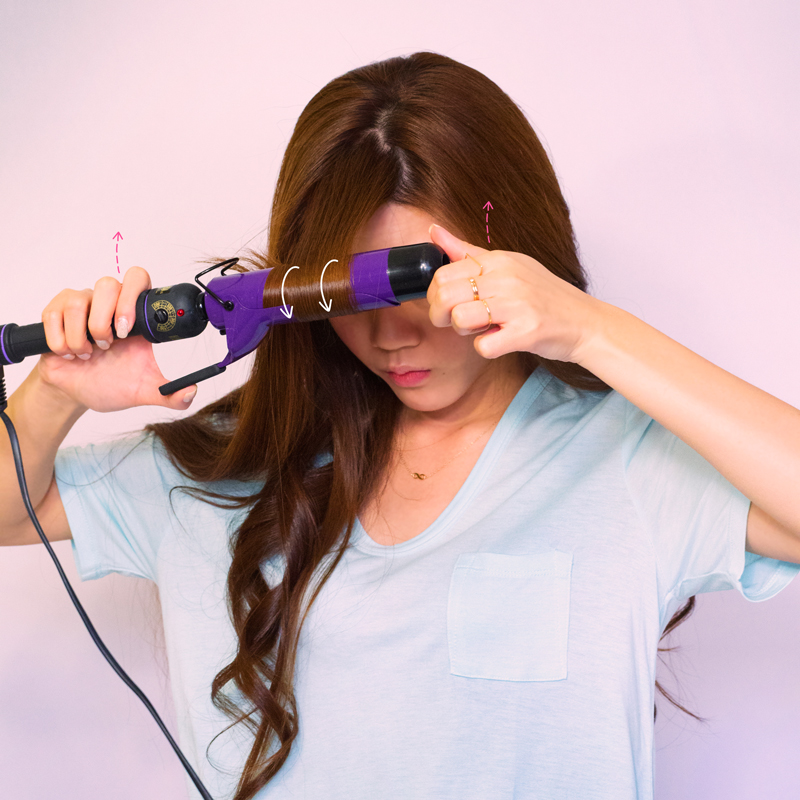
Step 8:
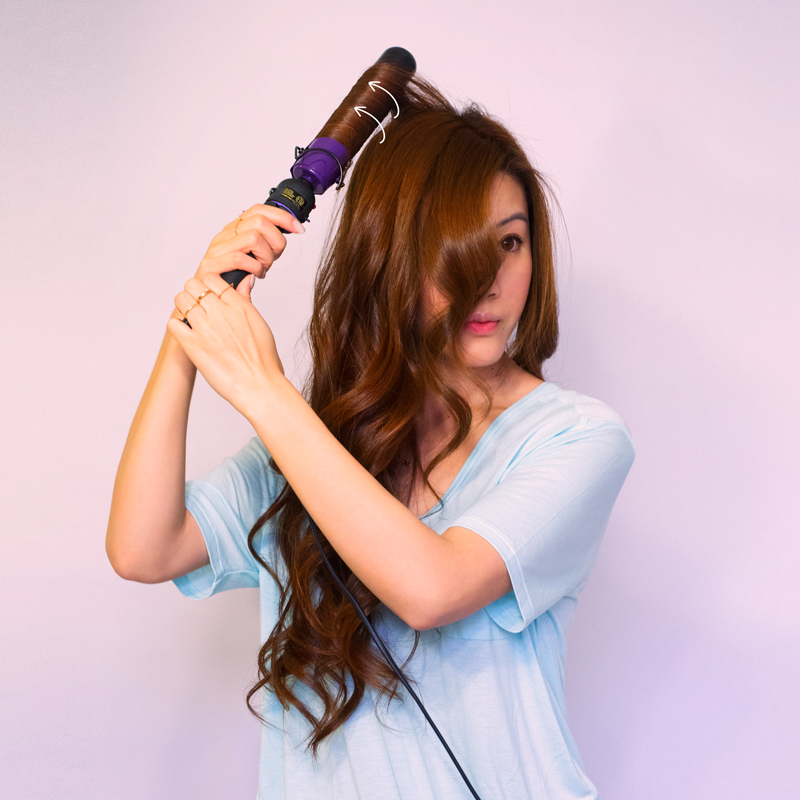
Grab your bangs and curl away from your face while also rolling the curling iron in an upward motion.
Step 9:
Once bangs are complete, repeat Steps 6 and 7 for the right side of your head.
Step 10:
Once you finish both sides, grab small portions of hair on the top of your head and curl outward to create additional volume.
Step 11:
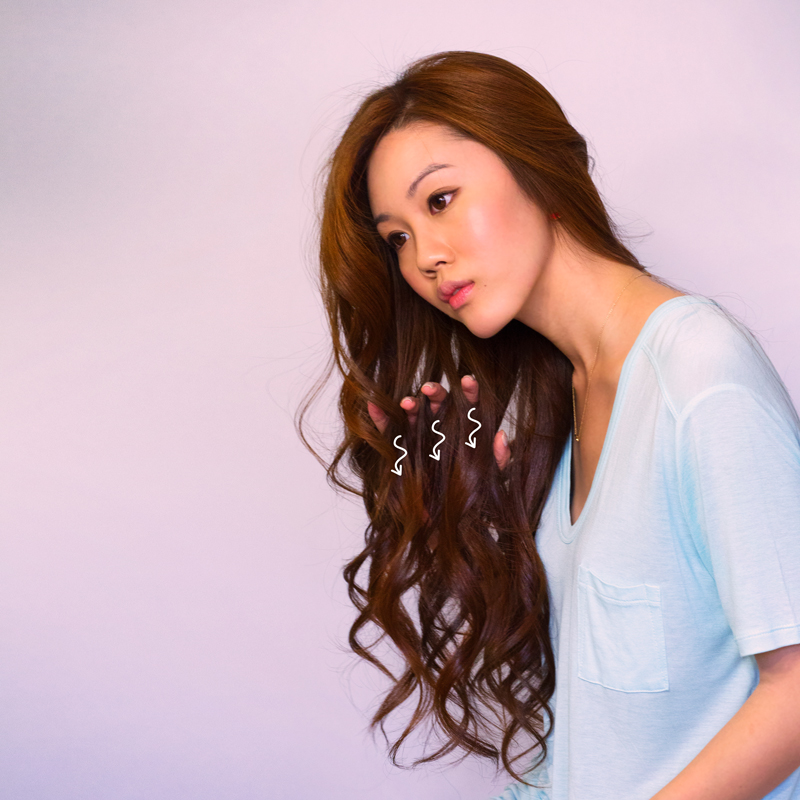
Run your fingers through hair in a rustling motion to relax the curls.
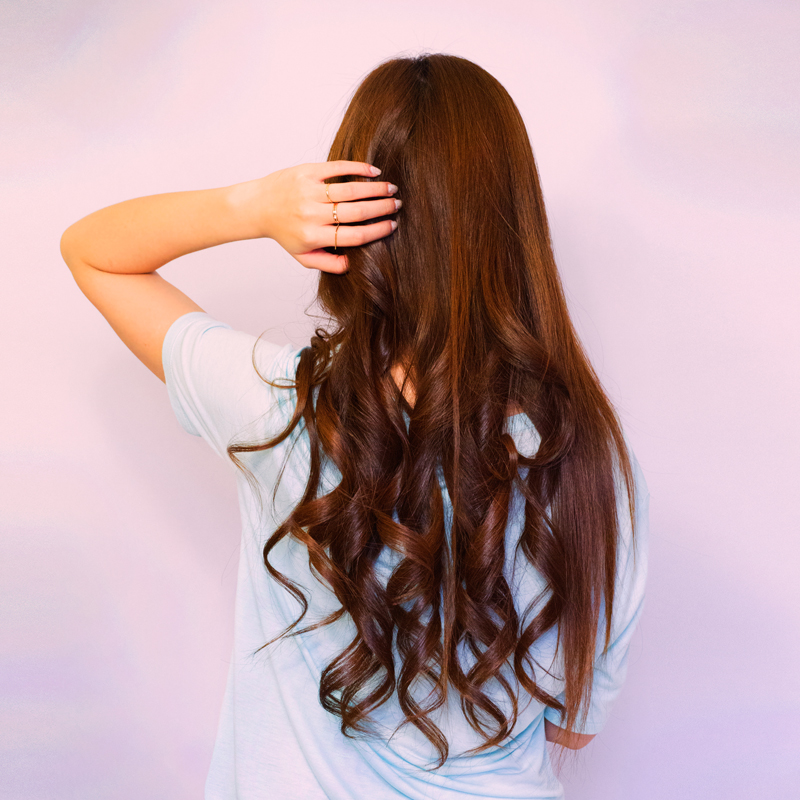
Step 12:
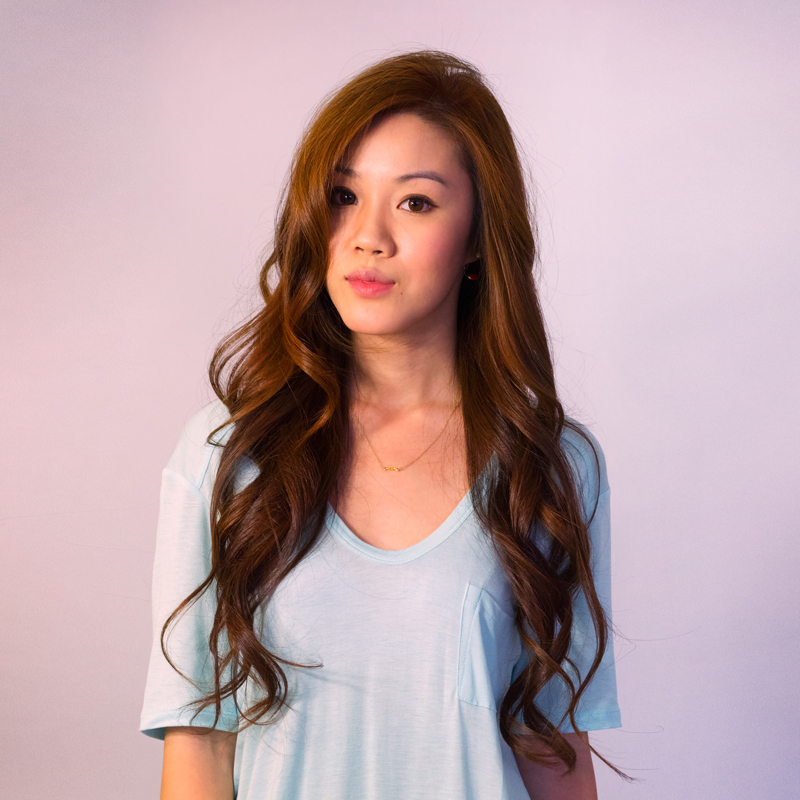
Show off your new look!
Thanks for reading and hope you guys will get the hang of it over the weekend! 😉